Setup:
The following instructions will lead you step by step through the process to
setup your computer for App Inventor programming. AppInventor is a web
browser application. May use either the
Google Chrome or
Mozilla
Firefox browser. (Internet Explorer can NOT be used.)
-
Create a Google account
AppInventor requires a google account.
The account is used for cloud storage of your work. Follow the above link in
your browser to create a google account if you do not already have one. If
you wish, you may create a separate google account for your App Inventor
work that is different from your main google account. If you create a
secondary google account you may wish to NOT enter your actual name, real
birthday, gender, and enter a dummy existing email address. You can skip the
add photo step. (Note: many sites purporting to offer free email require an
exitsing email address and/or a cell phone number. I would advise against
using such services. There are still companies that will offer truly free
email without requiring you to give up personal information. One such
service currently is GMX.)
After you have created a google account, proceed to gmail and remain
logged on.
-
App
Inventor web site,
Click
Get Started

In your browser visit the
App
Inventor web site,
and click on the
Click
Get Started link. Sign in to your Google account if necessary and allow
MIT AppInventor to use your google account and accept their terms of
service.
- Setting up MIT App Inventor (AI)
- Step 0: Setup App
Execution
- In a new browser tab/window
open the
App Inventor Setup page.
- Select your preferred app testing method:
If you do NOT have (or wish to use) an Android
device for app development: Click on Option Two:
Emulator Instructions
If you do have (and wish to use) an Android device for app
development: Click on Option One :
WiFi Connection
OR
Click on Option Three:
USB Cable
- Step 1: Install the App Inventor Software
Click on the instructions link for the
Operating System you are using.
- Windows:
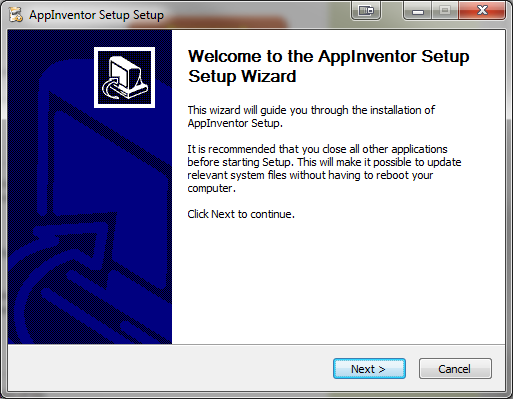
Download the installer (Windows). (Accept/Run the installer file from
the prompt at the bottom of your browser window.)
Agree to the License
Agreement.
Accept the default install location:
C:\Program Files
	(x86)\AppInventor
Install in the default
start menu folder. C:\Program Files
(x86)\AppInventor\commands-for-Appinventor
Mac OSX:
Download the Mac
installer. Follow the
Mac OSX install instructions. Start the downloaded installer and accept
the license.Accept the default install location, (i.e., do not click the
Change button).
- Follow the
Setup Emulator link

- Step 2: Launch aiStarter (Windows)
 Look
for the aiStarter icon on the desktop and double click it.
- Step 3: Start the App Inventor
cloud-based software at ai2.appinventor.mit.edu
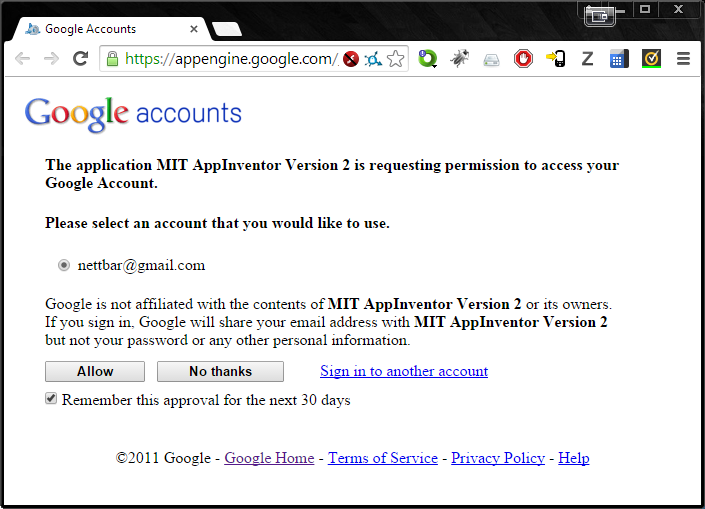
On the Google account page, select the gmail account you created
earlier and hit the Allow button.
Take the survey later. Click the Continue
button in the Welcome to App Inventor dialog popup window.
- From the Connect Menu select the Emulator
Option.
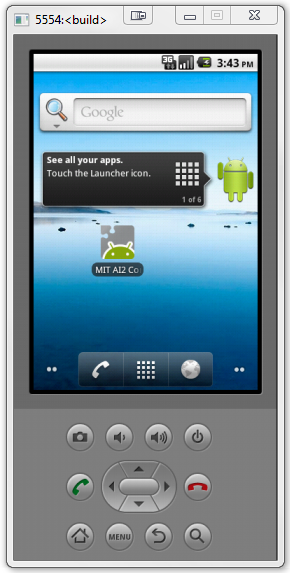
Wait for the Emulator to start, (it will take a while). Install the Companion App update on the
emulator.
Select the Done
button on the emulator once the update has installed,
NOT
the open button. (If the Emulator does not open then wait until after
you have created your first project to start it.)
Problems
Alternatively, follow along with this
youtube
AppInventor 2 Setup video tutorial.

