Deploying your p4 on our department's K8s§
For extra credit, we ask that you take a few additional steps and deploy your container on our department's discovery cluster. To that end, you must
-
upload your container image to our gitlab container registry
-
create a project and namespace on our cluster and deploy a workload there
-
add an ingress path to set up a reverse proxy.
Below, the images show the "Cluster Manager" UI. There is an alternative UI called "Cluster Explorer" (reachable from the top right) you may also use.
Step 1: Uploading your container image to git.cs.vt.edu§
Upload your container image to your p4 repository on git.cs.vt.edu.
Gitlab (which is the software that git.cs.vt.edu uses) comes with a built-in container
registry - in fact, every repository on Gitlab contains a repository.
This works even while your container image stays private and so is not exposed to the world.
To do that, first log into the registry and then push the image:
# >>> must be run on the same rlogin node where you built the image <<<
docker login container.cs.vt.edu
docker push <image_name> container.cs.vt.edu/<pid>/<repo_name>/<optional_nested_path>
where:
<image_name>would bep4(matching the name assigned indocker build)<pid>/<repo_name>is the path to yourp4repo (so<pid>may be your PID or your partner's).
This command must be run on the same rlogin node where you built your image.
You and your partner may use the same repository for the registry here as long you
use a different <optional_nested_path>. Use p4_<yourpid> as
your <optional_nested_path> to avoid conflicts.
A possible output may be:
$ docker push p4 container.cs.vt.edu/gback/registry/p4_gback
Emulate Docker CLI using podman. Create /etc/containers/nodocker to quiet msg.
Getting image source signatures
Copying blob 8648fd921679 done   |
Copying blob a672ed40ffee done   |
Copying blob 0e498639fc54 done   |
Copying blob 1b3ed017b542 done   |
Copying blob e40e77ec883b done   |
Copying blob 4fbca1d95875 done   |
Copying blob ea22e4bb6bbd skipped: already exists
Copying blob 894d7fdd4340 done   |
Copying blob 3b4d63dde318 done   |
Copying blob 251b2983f2f7 done   |
Copying blob 499f085a59cf done   |
Copying blob 0eaee45e0ed9 done   |
Copying blob 32f4b83b75e1 done   |
Copying blob 17518e6fc688 done   |
Copying blob 825340b0dedb done   |
Copying blob 7f121efc119b done   |
Copying blob 2b28fc101f45 done   |
Copying blob 831cd6f498a8 done   |
Copying config eb94c2e081 done   |
Writing manifest to image destination
If you encounter an error that looks like this:
Error: trying to reuse blob sha256:... at destination: Requesting bearer token: invalid status code from registry 404 (Not Found)
then please try the push command again. It may be related to this bug.
Step 2: Creating a project on our discovery cluster.§
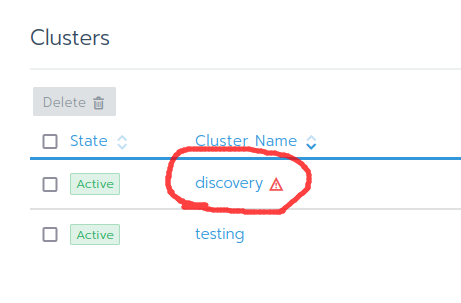
First, go to cloud.cs.vt.edu and log in:

You should see a list of one or more clusters; select "discovery" from the list:
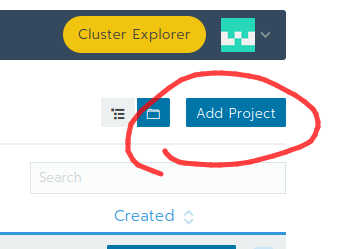
Click on Projects/Namespaces.
Once there, add a project by selecting "Add Project"
Name the project. I named it p4 in this example. Save. Once created, select the project and
you should see:

Select Namespaces in the top menu and add a namespace. I called it p4ns in this example:

Once you select the project again through the top-level menu you should see
Step 3: Providing your container registry credentials.§
We need to provide the K8s cluster with the necessary credentials to fetch your private container images from the container.cs.vt.edu registry.
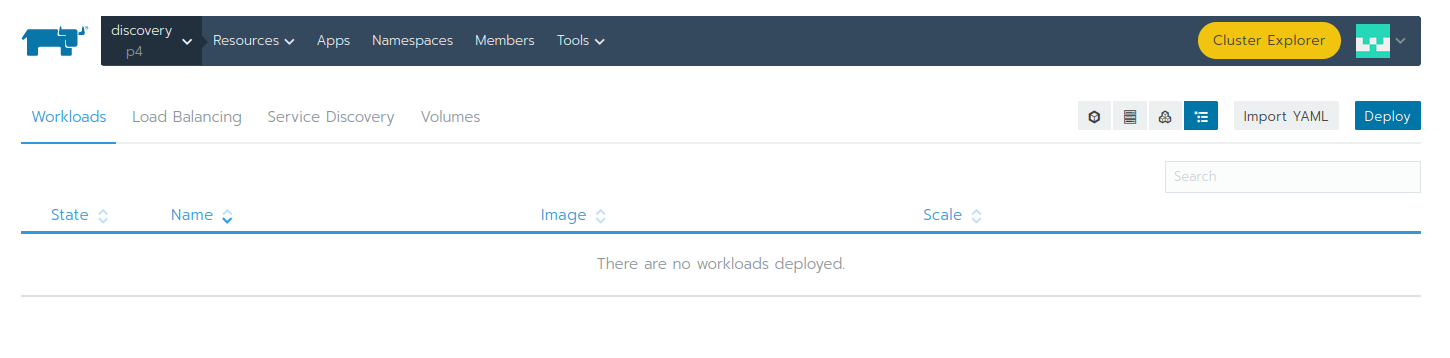
To that end, select "Resource" -> "Secrets" from the menu, and you should see:
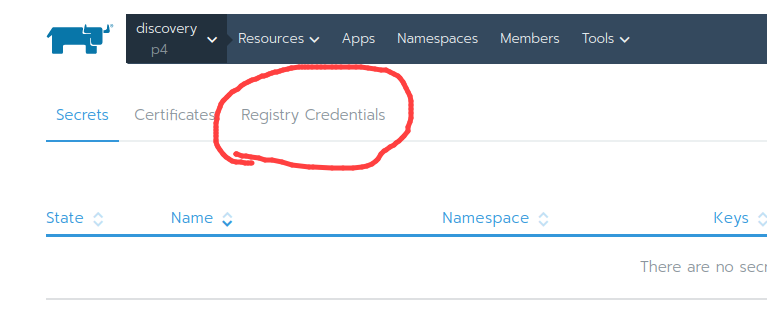
Select the Tab labeled "Registry Credentials"

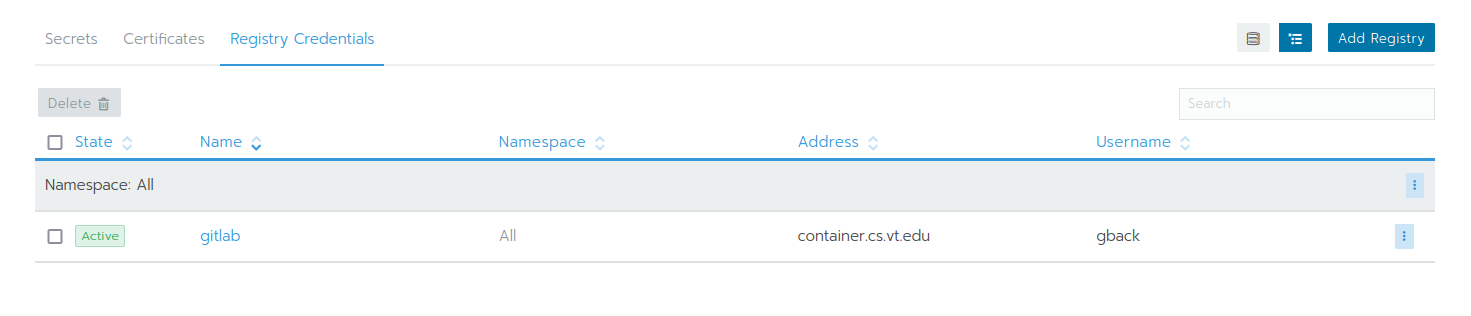
and add a custom entry for container.cs.vt.edu like so:

Provide your CS password here.
If successful, gitlab (you could choose any name here) should now appear in the list:
Step 4: Deploy a workload§
Next, go back to Resources -> Workloads and select "Deploy"
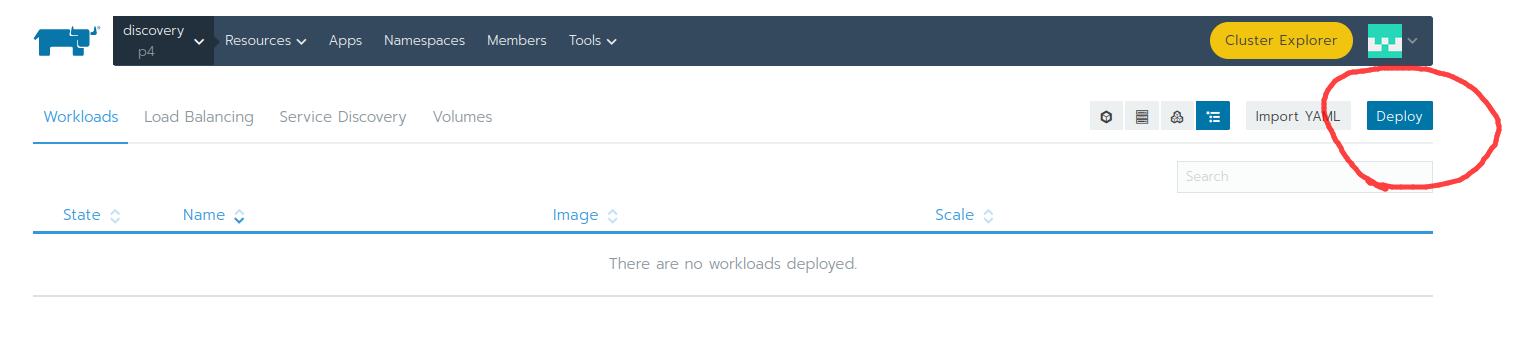
You should see this dialog.
You can choose the name freely, select the namespace you've created,
provide the correct Docker Image path (the same you gave to docker push earlier).
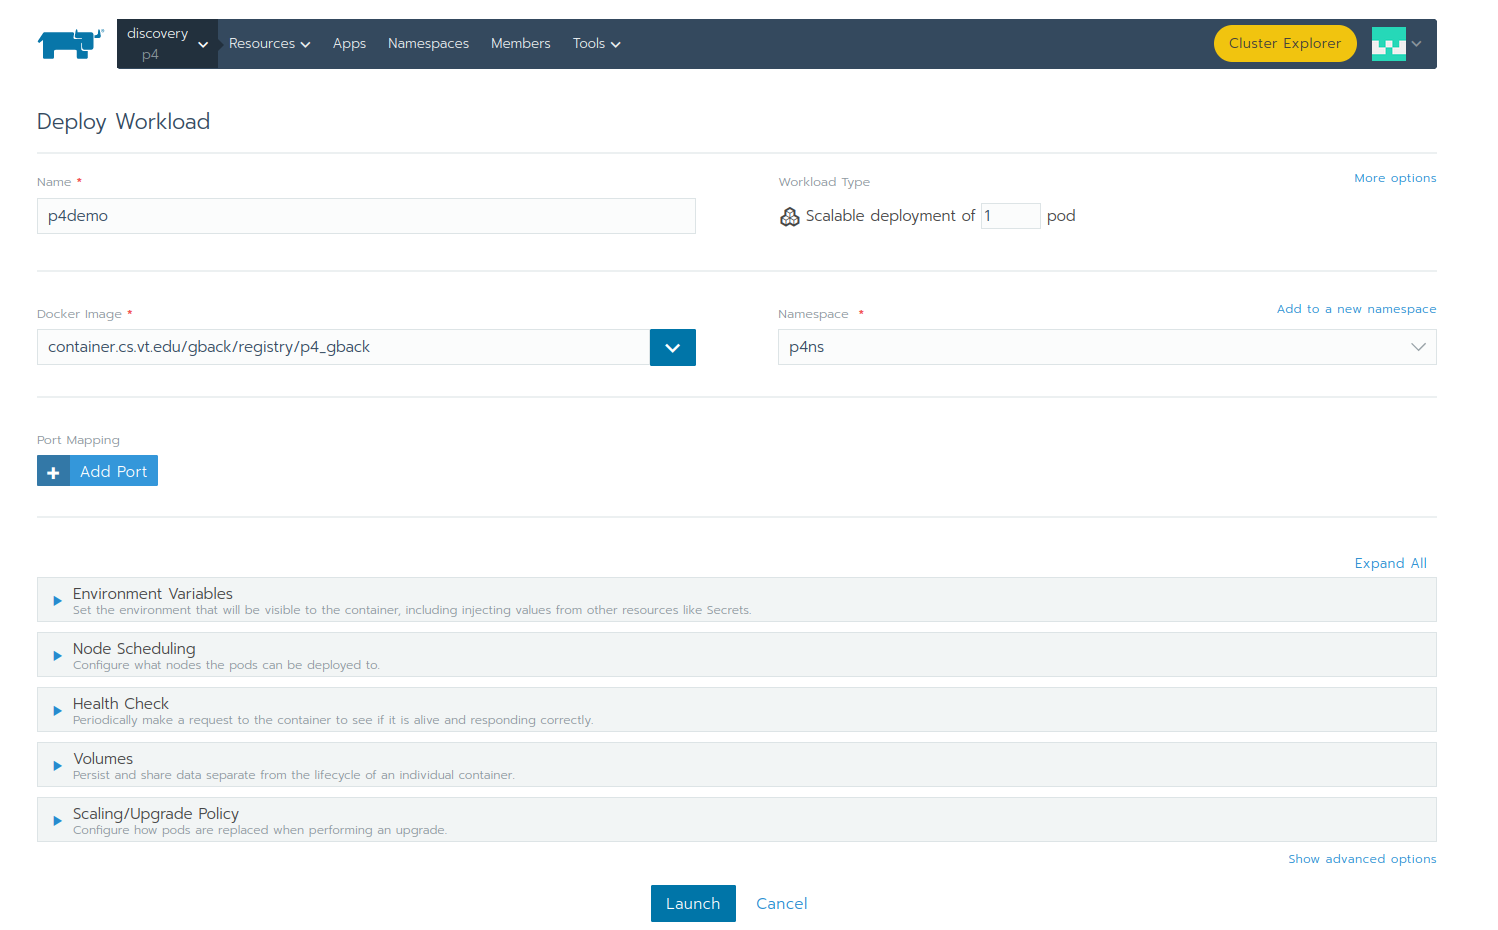
Once you hit "Save" at the bottom, K8s will download the container image and spin up an instance of your container.
After 3-5 minutes, you would see
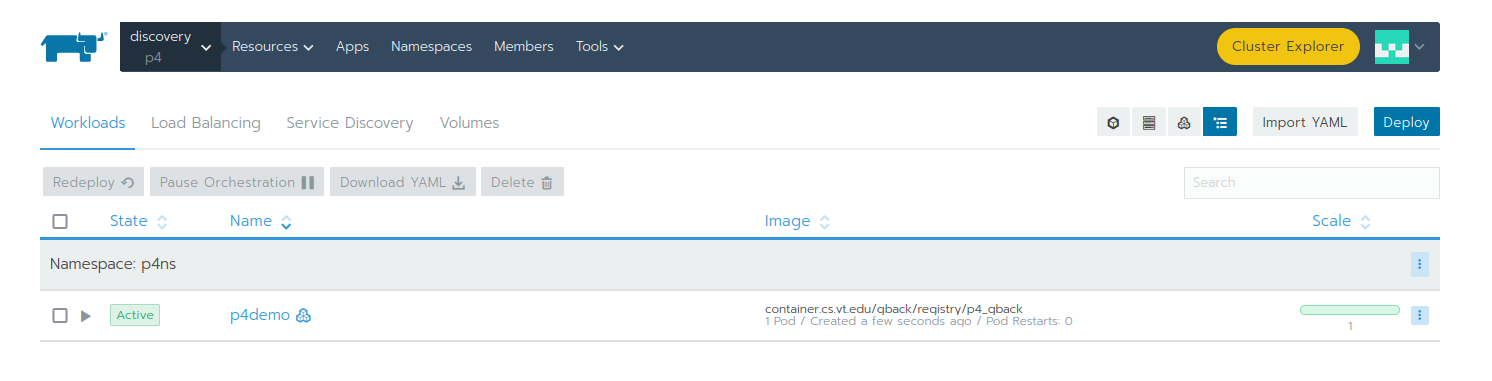
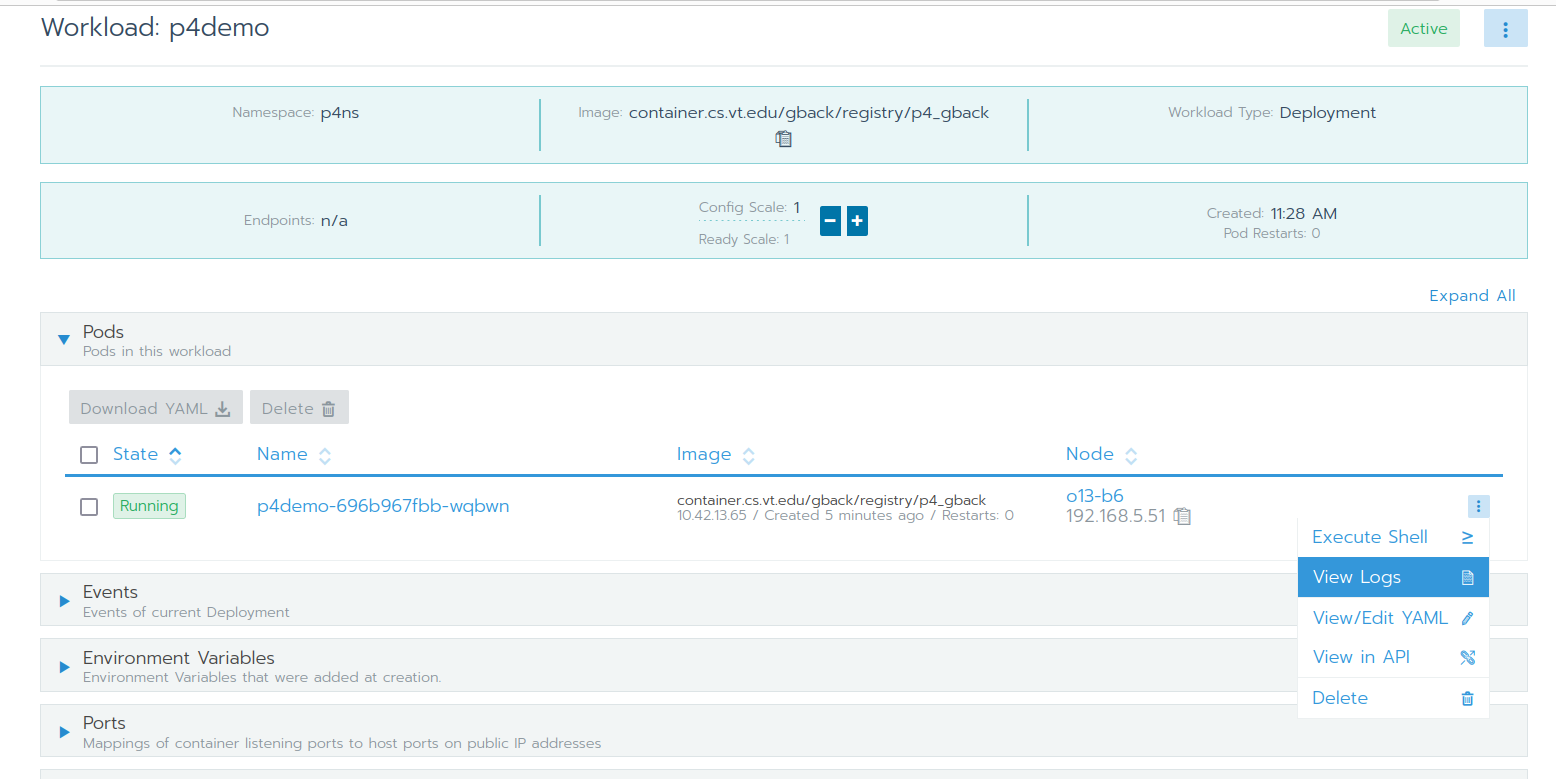
At this point, if you clicked on the project, you would be able to see this page where you can look at, for instance, the standard output/log of your container:
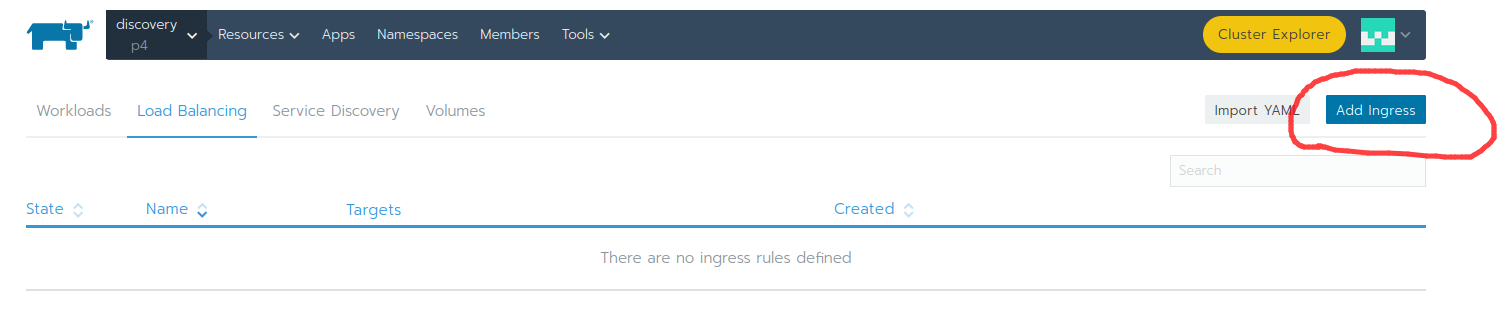
Step 5: Set up a working ingress§
Now the container is running on some node inside the K8s cluster, but we are unable to reach it from the outside because it is behind a firewall (and don't have a public IP address). To be able to reach it via HTTP/HTTPS we must set up a reverse proxy, which is accomplished by going to Resources -> Workloads, then selecting the "Load Balancing" tab, then choosing "Add Ingress":
Set up the ingress like so:

where you please set the "Request Host" to fall2023-<YOURPID>.cs3214.discovery.cs.vt.edu
(This namespace seems to be managed on a first-come, first-serve cooperative basis, so please follow this
convention.)
Once added, you should see:
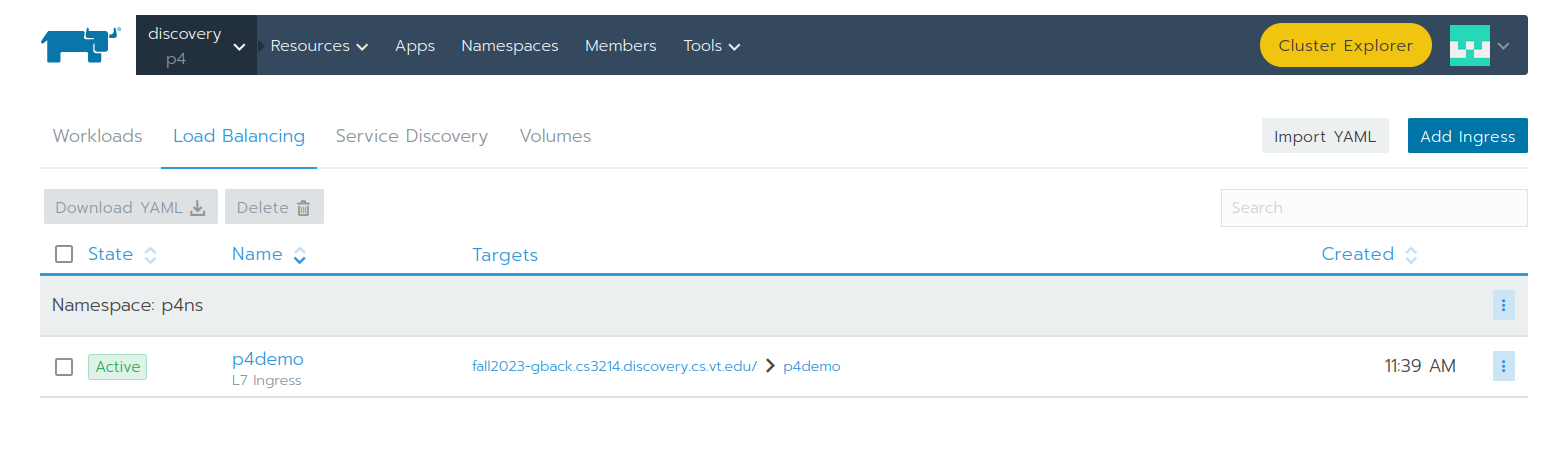
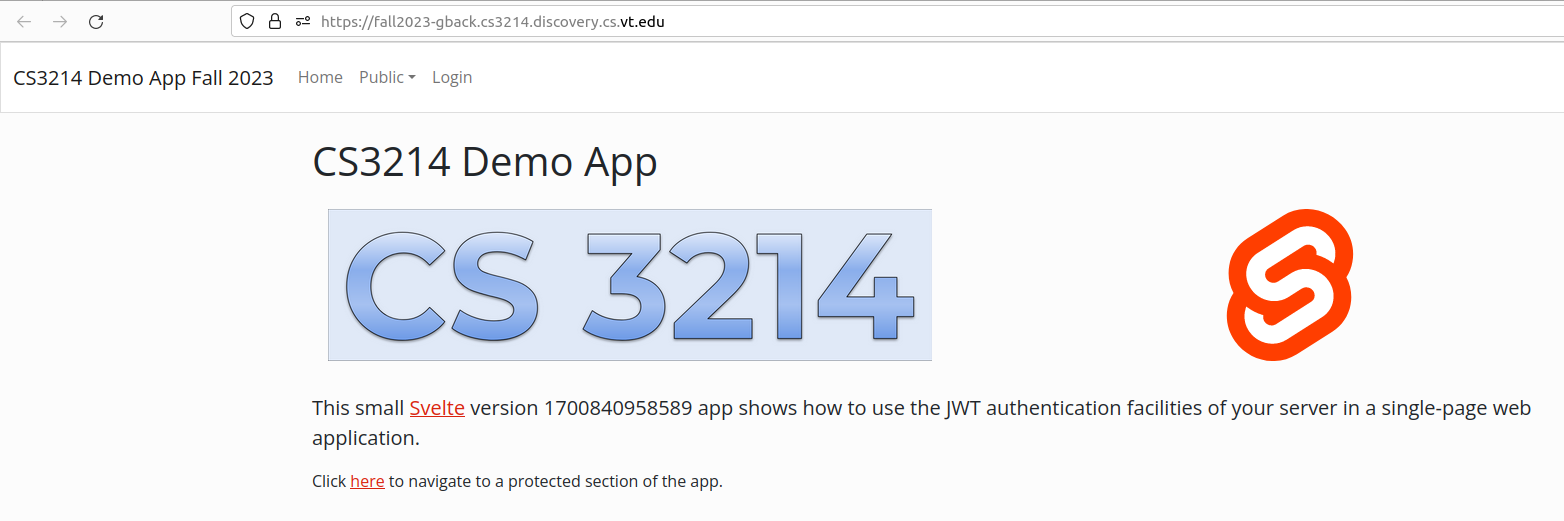
and the clickable link should lead you to your website
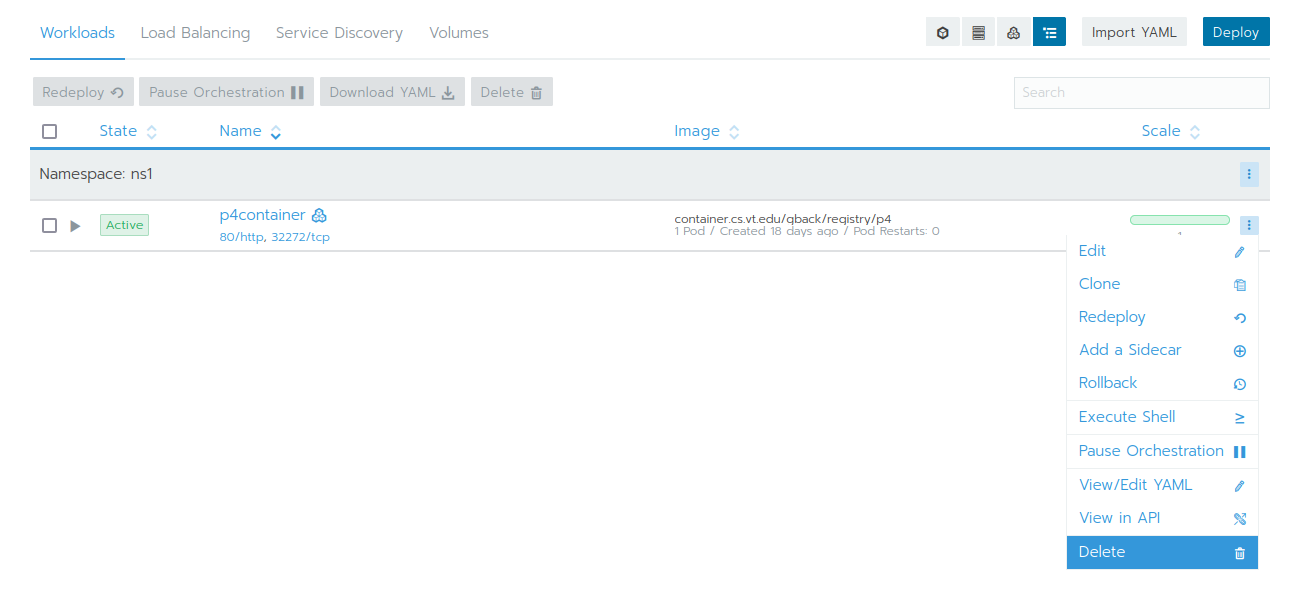
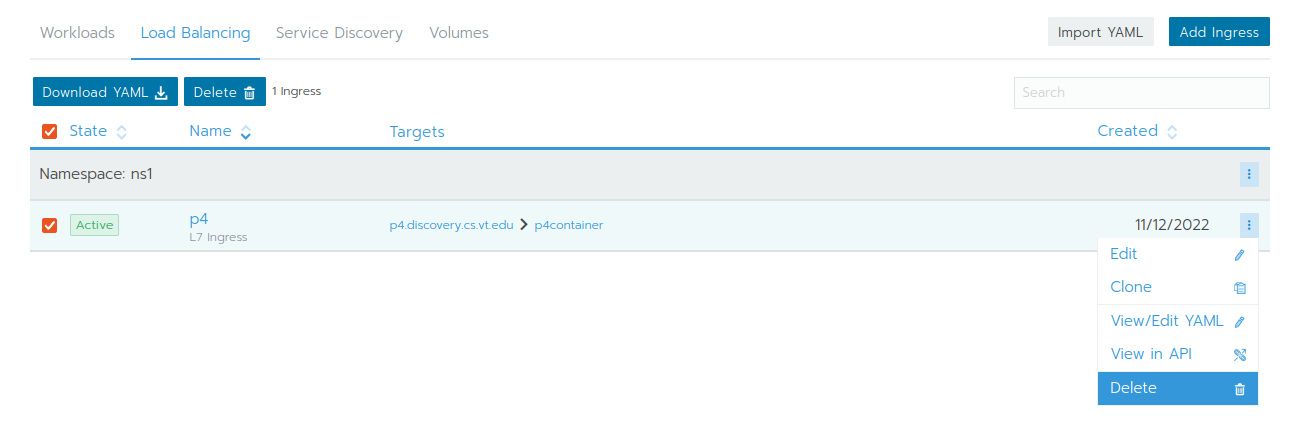
Step 6: Cleanup§
After you've demoed it successfully, you need to delete your ingress point and the workload